Contents
Introduction
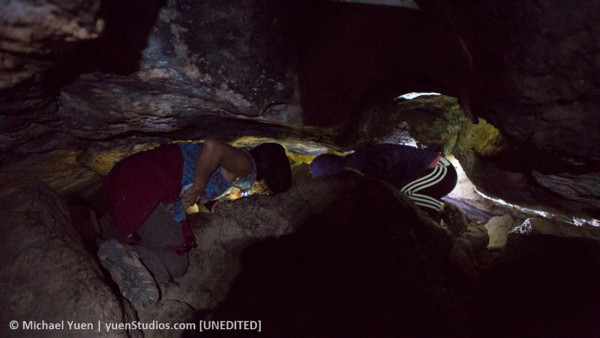
During a 2013 trip with friends to Utah, we came across a cave near where we stayed. We had been enjoying our time at Zion National Park, and caves were always a subject of fascination for me. We decided to explore one of the three underground caves. It was dark, low-hanging, tight, dusty, and yet exciting!
We came across a colony of bats when one of us nearly ran her head into them. Fascinated, we took several photos of them and proceeded deeper into the unknown.
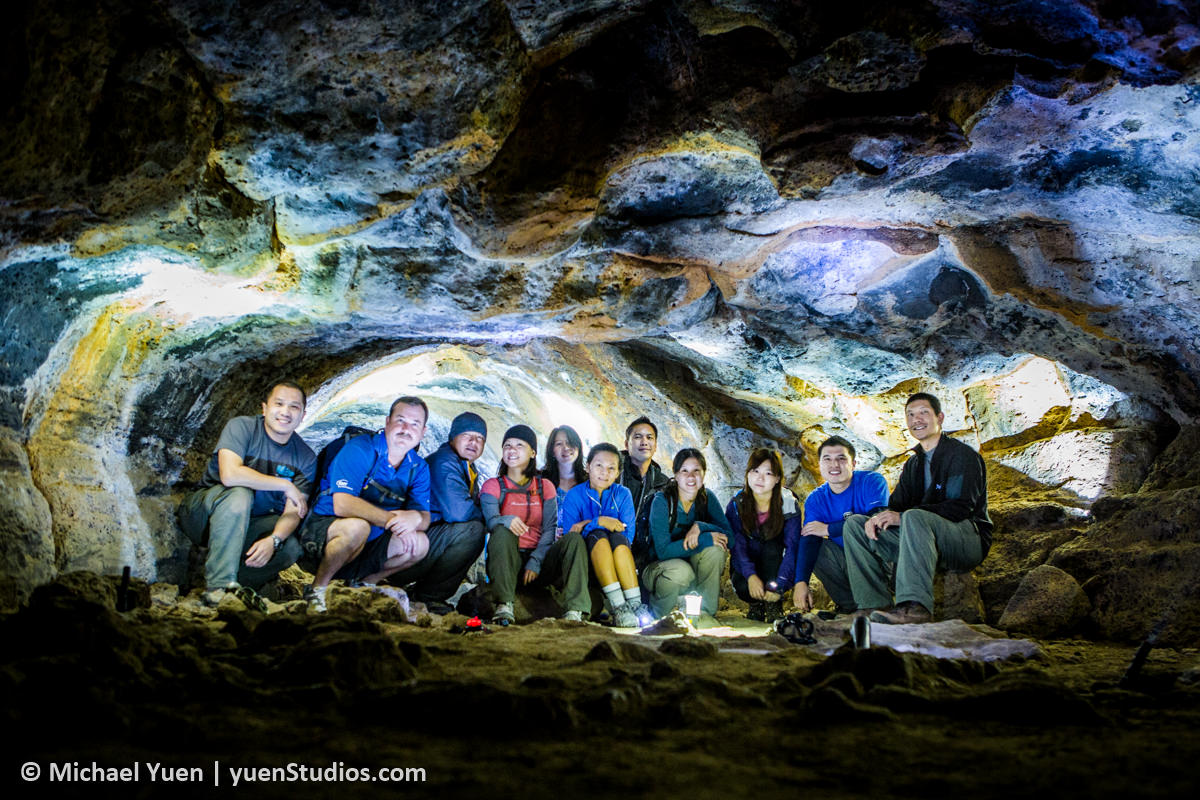
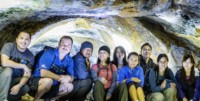
When we came across a relatively large space within the cave, I wanted to take a group photo since we did not find the opportunity to do so throughout the trip. With the colorless, dark cave, I had very low expectations for this impromptu shot, but my mind was blown at what I later discovered during casual editing. Here’s how it was taken and processed.
Goals
I wanted a group photo, and lacking a suitable place for our last outing of the trip, I decided to take an impromptu one inside the first, largest space we came across inside the cave. I had no expectation that this photo would be usable in any form, but we had to have one of the group. With the boring backdrop and lackluster colors, my sole focus was to just have a group shot of everyone inside a cave, taking care that everyone’s face be visible.
Camera and Gear
- Canon 5D Mark III, 24-70mm f/2.8L at 30mm, 1/5 sec @ f/3.2 ISO 1600
- No flash and no tripod were available
Challenges
- Cave was completely dark, dusty, and very drab with its shades of gray and hints of golden yellow
- Its low-hanging ceiling forced all of us to squat, and I knew that doing so for an extended amount of time would force everyone to become impatient
- The rain was approaching. A cave is one of the worst places to be in with the potential for flash flooding
- The dusty environment posed a great threat to the camera’s weather sealing
- I had just one chance to get this right
Setup
Lighting
- I asked for everyone’s headlamps and flashlights so that the cave could be lit as much as possible. We had a combination of about sixteen (16).
- The portable lights were placed behind the group, sides, and a few at the front. All were pointed up and away from the faces in hopes of achieving bounced illumination.
- The camera was raised on a couple rocks I found laying around, just enough to keep us in the frame.
Shot Process
- I did not want too much noise in the shot, and so I maxed ISO at 1600, shutter to 1/5 sec, and aperture at f/3.2. I could not slow down the shutter any further without risking unusable blur, and aperture could not be increased to a higher f-stop without having too dark of a shot. Those of us on the sides were expected to be out-of-focus with that aperture. Auto-focus was placed on the center-most person, and then switched to Manual focus. I could not manually zoom-focus from the LCD because the camera was so low to the ground. I was not about to put my face awkwardly close to the dusty, bat-pooped dirt.
- My instruction to everyone was to hold completely still for 1 sec, enough for the 10-sec timer to expose for 1/5 sec. A second shot was taken in case somebody moved or blinked during the first. And with that, we had to move on. Squatting for so long caused many to get annoyed, and asking for time to adjust focus and re-take would have been a death wish.
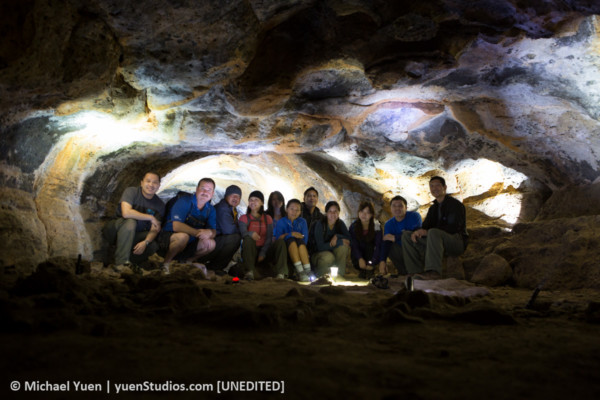
- “It’s a bit out-of-focus, but at least we have a group shot,” I thought. It appeared the camera was focused on the back of the cave, not on us, as shown in the crop below. Oops. I was severely disappointed.
Editing
As I adjusted the exposure, white balance, and other basic sliders, I quickly realized how unexpectedly COLORFUL the cave was! I proceeded with the editing (shown below), and increasingly grew to like the shot… if only I did not screw up on the focus!
Overall Adjustments
Exposure +0.96, Contrast +44, Highlights -100, Shadows +78, Whites +42, Blacks -48, Clarity -6, Vibrance -6, Saturation -17, Lights +10, Darks +18, Shadows -18, WB from 4400 to 3550, Crop, -21 Vignetting.
Spot Adjustments
Clarity, highlights, shadows on the faces; exposure, contrast, WB, highlights on the lit areas around us.
Lessons Learned
- Adjust ISO to 3200 so that a larger f-stop could be used.
- Don’t judge a drab cave by its cover — what I had previously thought as colorless and boring resulted in a world of hidden COLORS and TEXTURE. At least the image looks sharp at a smaller resolution.
- As one of the participants commented to me, paraphrased, “The cave was deceiving. I didn’t notice the colors, but your edit really brought the image to life”. I wholeheartedly agree. Who knew?
Thoughts
I wish I could have taken one more shot at a higher ISO, larger f-stop, and correct focus… it would have become a gem in my personal photo collection. Nonetheless, the image has become one of my favorites, and is a good reflection of the good times we had on this trip.

